Table of Contents
FPGA Development Walkthrough
Once you've got yourself a Nexys 4 DDR Artix-7 FPGA: Trainer Board, you'll want to program the Xilinx Artix-7 FPGA chip to do your bidding.
This page will walk through the process of getting your pc prepared to do a build of the project.
TODO: Migration to Vivado
The latest version of the codebase now needs to be built via Vivado and not ISE.
I'll try document this in more detail in future. For now, try download the latest Vivado from here:
Then try follow the steps below, replacing and ISE-specific options with Vivado.
Which tool to use
There are two software tool packages Xilinx provides to build on these systems, “ISE Design Suite” (older) and “Vivado” (newer). This project uses the former, as Paul reported problems with Vivado (see his log entries: #1, #2, #3).
Note that presently, this tool is only available for Windows and Linux (no Mac support).
Download ISE Design Suite
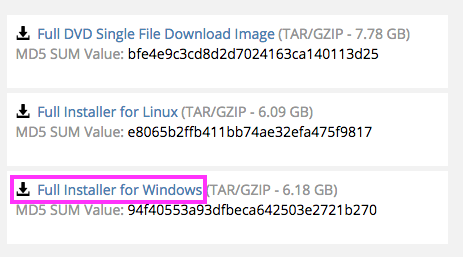
- Download the install file from:
- Scroll down the screen a bit and choose the “Full Installer for Windows” option
- I think at this point, you need to fill out a form with your details
- It then runs a java applet within your browser to handle the 6.1GB download
- Please note the large file size, it might take a while! (and don't accidentally use your mobile's internet ;)
- Also, you might need to enable java applets to run in your web-browser (many modern browsers try to block them these days)
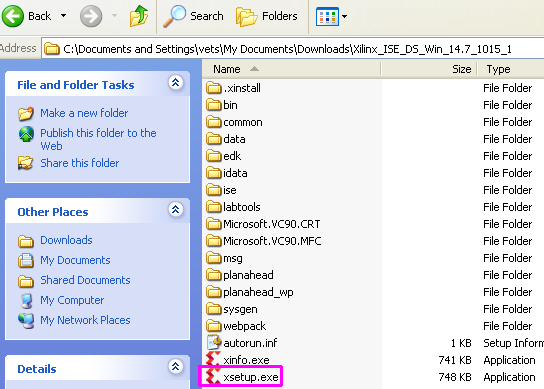
- Once the download completes, look in your “My Documents” folder
- You will find the “Xilinx_ISE_DS_Win_14.7_1015_1.tar” file there
- You can unzip it with a tool such as 7-zip
Install ISE Design Suite
- Run the “xsetup.exe” file
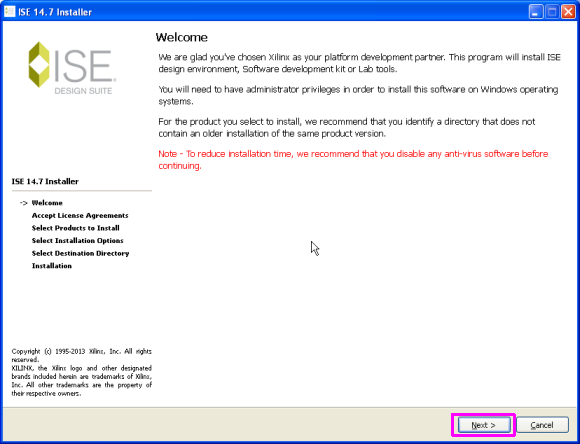
- You'll get a nice welcome screen, click “Next”
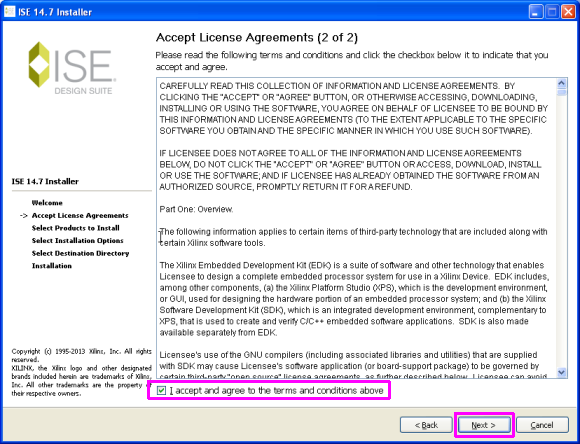
- Tick the two checkboxes and click “Next”
- Tick another checkbox and click “Next”
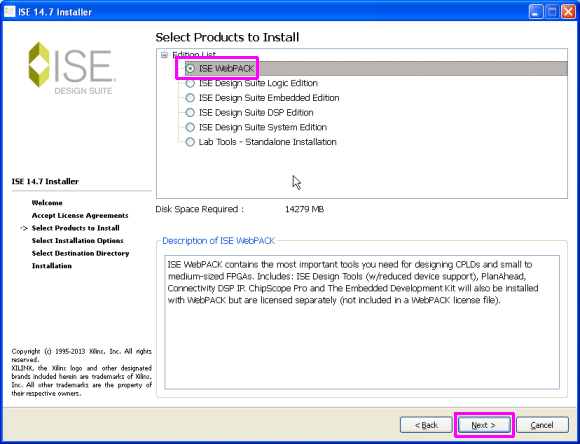
- Then choose the “ISE WebPack” option (this is the 'free' one) and “Next”:
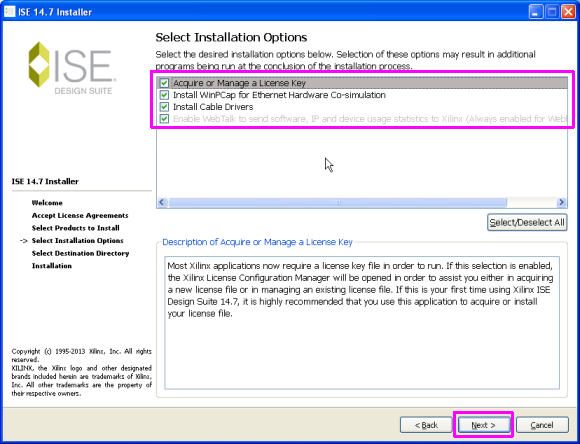
- Just leave all the checkboxes ticked on this page and click “Next”:
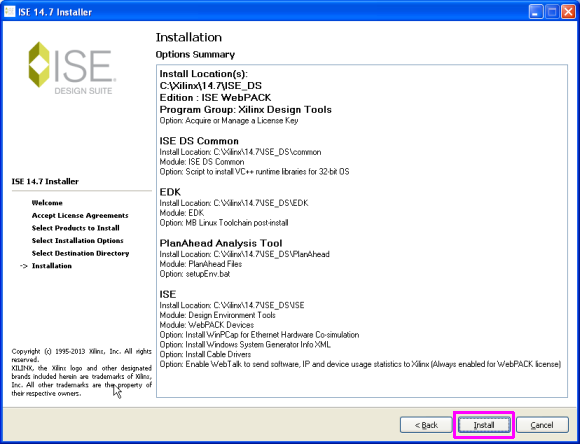
- Click “Next” once more
- Then click the “Install” button
- Now wait two or three hours for it to install… :)
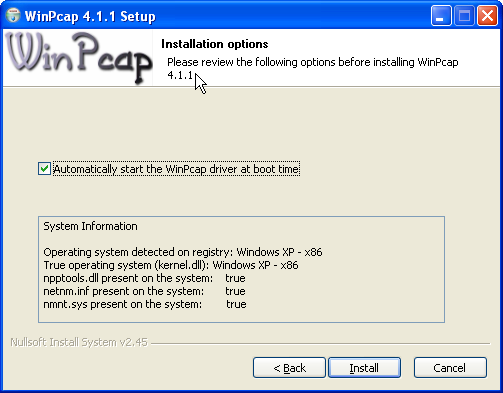
- At around the 90% point of the install, it wants to install “WinPCAP”
- Just install it with the default settings

Congrats, it's finally installed! :)
Acquiring the License
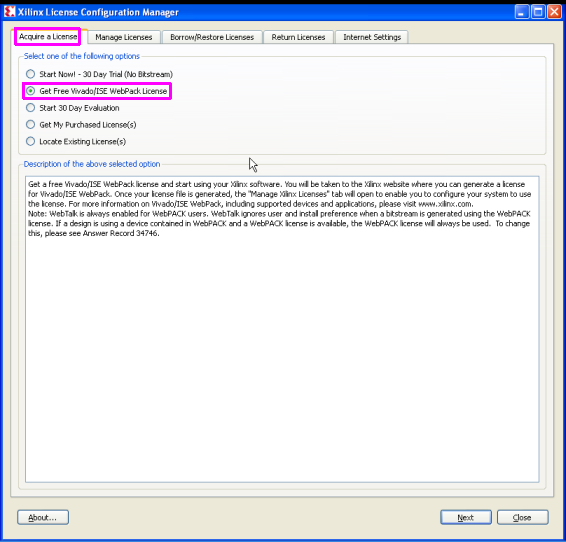
- After the install, the “Xilinx License Configuration Manager” app will appear automatically
- On the “Acquire a License” tab, select the “(x) Get Free Vivado/ISE WebPack License”
- Then click “Next”
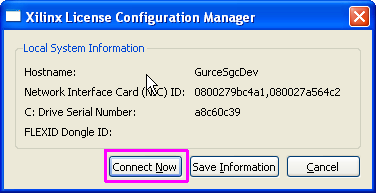
- You will then get this popup. Click “Connect Now”:
- You will get re-directed to a website:
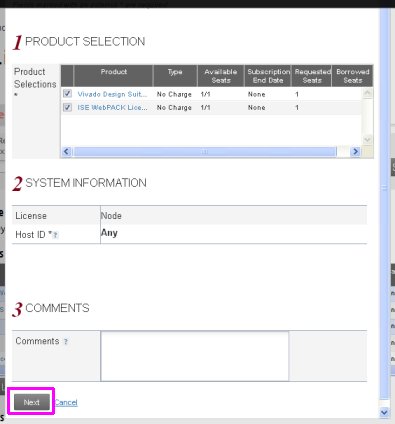
- Tick the checkbox for the “Vivado Design Suite: HL WebPACK 2015 and Earlier License” (in-case our project moves to it later on)
- Tick the checkbox for the “ISE WebPack License” item too (this is the tool we use presently)
- Then click the “Generate Node-Locked License” button
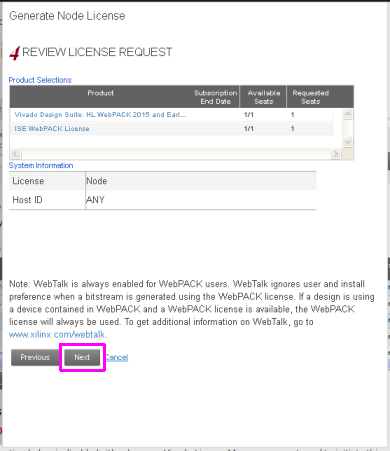
- You will then see this web-form. Just click “Next”
- Then this page, just click “Next” again:
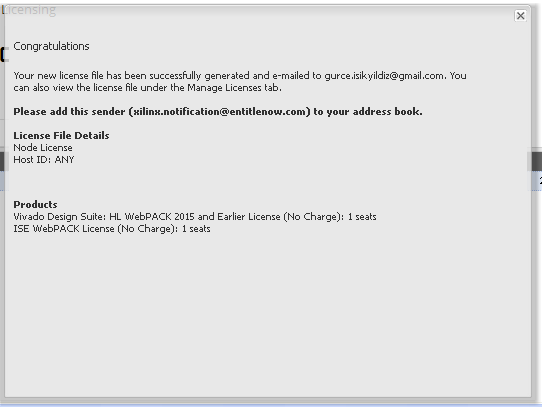
- Then we get this congratulatory message saying the license has been emailed to us.
- Check your email client for this email and download the attached “Xilinx.lic” file
- It then takes you back to the “Xilinx License Configuration Manager” app
- This time, it shows the “Manage Licenses” pane
- Click on the “Load License…” button
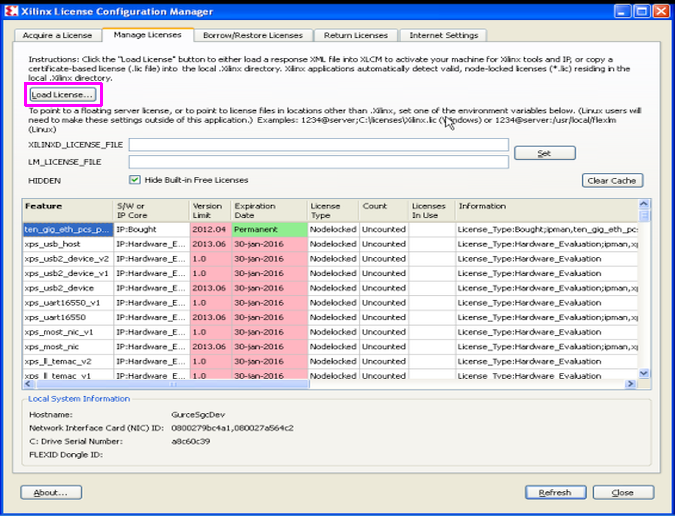
- then browse to the “Xilinx.lic” file you downloaded from the attachment of the license email.
- You will then get this nice re-assuring popup!

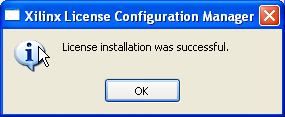
Great, we finally got that pesky license stuff out of the way! :)
Build the project
- From the Preparing a build environment in Cygwin page, assure you've done the following sections.
We then need to run “make” on the project, then open in ISE Project Navigator and do the synthesise stuff…
TODO: Provide more detail…