This is an old revision of the document!
Table of Contents
Preparing a build environment in Cygwin
Building this project requires a few prerequisite tools that stem from the GNU/Linux world, such as:
- gcc (c compiler)
- make (used to execute Makefile targets/recipes to perform various build-related tasks)
- ghdl (vhdl simulator)
- ophis (8-bit cross compiler)
- git (the version-control tool used by this project, and by several of its prerequisite projects)
So if you are predominantly a windows developer and want to contribute to the project, but feel a bit overwhelmed at the thought of jumping ship to Linux, then installing Cygwin in your Windows environment can be a good compromise.
This walkthrough will try guide you through how it's done.
Installing Cygwin
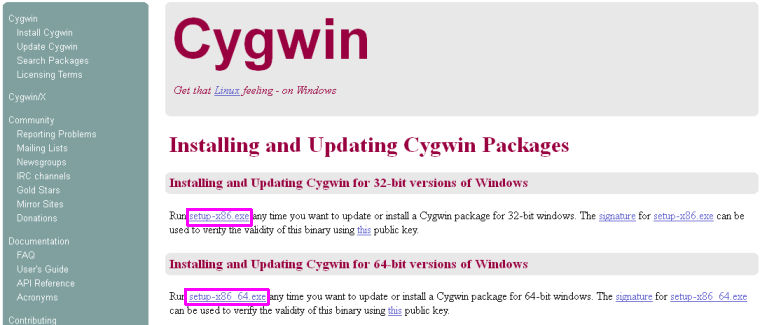
- Download Cygwin from their web-site:
- I picked the 32-bit installer for my 32-bit winxp VM (setup-x86.exe), but you may prefer to use a 64-bit install (setup-x86_64.exe)
- NOTE: Please remember the path where you download this file on your pc, as you can re-run the setup exe multiple times to install additional packages later on.
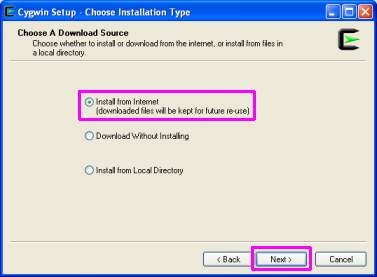
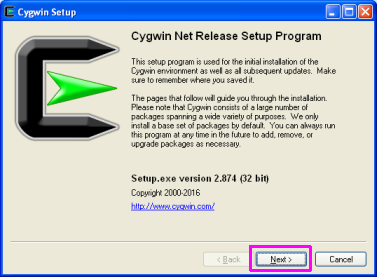
- Run the setup exe, the wizard begins, click “Next”
- Stick with the default option of “(x) Install from Internet”
- Then click “Next”
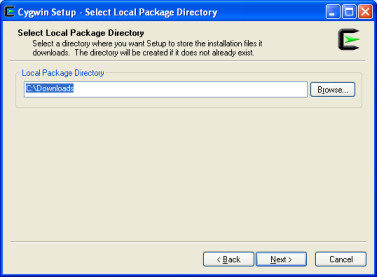
- Stick with the default install directory (“C:\cygwin”) and click “Next”
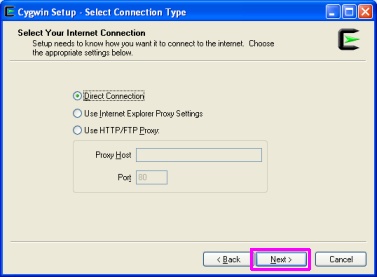
- Stick with the defaults on this page too:
- Use whatever style internet connection suits your situation.
- For most home users, “(x) Direction Connection” should be sufficient
- If you are installing from work and your workplace has a proxy, you might have to use the other options.
- Then click “Next”
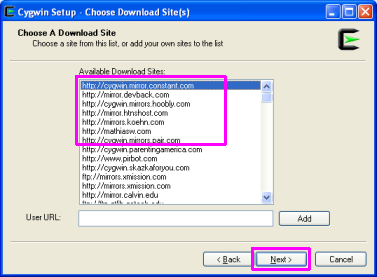
- pick out a suitable mirror to download from
- I was lazy and chose the first one on the list ;)
- You might prefer to use a mirror closer to your geographic location
- Click “Next”
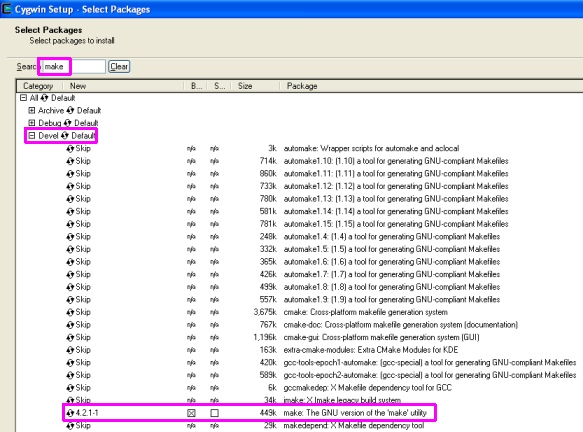
- In the “Search” bar at the top, type “make”
- Expand the “Devel” group
- In the search results, mouse-click the item called “make: The GNU version of the 'make' utility”
- A little “[X]” box should appear, indicating that it will be installed
- This is a good time to search for install any other nice gnu/linux tools you like (openssh, vim, etc… perhaps even git, git-gui and gitk, if you like)
- If you realise you want more later, just re-run the setup exe again, go through the wizard and add more at this step
- I will provide a more definitive list of required packages in a section below later
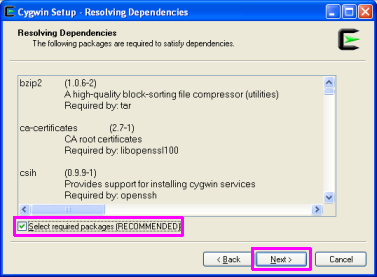
- Click “Next”
- Stick with the default “(x) Select required packages (RECOMMENDED)”
- then click “Next”
- Patiently wait for it all to install… :)
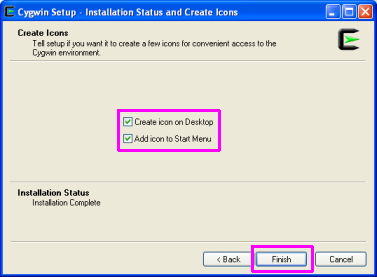
- On the final screen:
- check the “(x) Create icon on Desktop” checkbox
- check the “(x) Add icon to Start Menu” checkbox
- click “Finish”

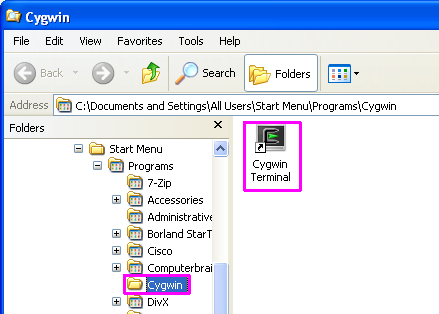
You can now run cygwin from “Start Menu » Programs » Cygwin » Cygwin Terminal”:
Installing Ophis
This refers to Michael Martin's Ophis Assembler.
It is a cross-compiler for the 6502-family of processors. Paul has tweaked it so that it can also support his new 4502 processor.
- You'll need to grab it from Paul's github fork of Ophis:
- “Ophis @ 98ffd2a”
- It also needs to be housed in a path that relates to where your mega65 code is located, so that mega65 code can see it.
TODO: Provide more detailed steps for this, just placeholder stuff for now.
Installing GHDL
GHDL is a vhdl simulator, allowing you to assess how the vhdl code behaves without having to wait an hour or so for the bitstream to build/synthesise.
It also needs to be built from the source, so here are some steps for getting it done.
Prerequisites
Run the cygwin setup exe and install the following:
- gcc-g++
- gcc-ada
- gmp-devel
- mpfr-devel
- libmpc-devel
- wget
- git
1) Grab the source for gcc v4.9.3
- cd ~/Downloads
- mkdir gcc
- cd gcc
- tar xvf ../gcc-4.9.3.tar.gz
- (wait patiently for it all to decompress)
2) Grab the latest version of ghdl via git and copy its source into gcc
- cd ~/Downloads
- git clone http://git.code.sf.net/p/ghdl-updates/ghdl-updates.git ghdl-updates
- cd ghdl-updates
- ./configure –with-gcc=$HOME/Downloads/gcc/gcc-4.9.3
- make copy-sources
3) Build and install gcc+ghdl
- cd ~/Downloads/gcc/
- mkdir gcc-objs; cd gcc-objs
- ../gcc-4.9.3/configure –prefix=/opt/gcc-4.9.3 –enable-languages=c,vhdl –disable-bootstrap –disable-lto –disable-multilib
- make -j2
- make install
- rm /usr/bin/ghdl
- ln -s /opt/gcc-4.9.3/bin/ghdl.exe /usr/bin/ghdl
- As a test, try typing “ghdl –disp-config”
- take a look at the output, and assure that there's no text anywhere that says “ghdl: installation problem:”. If not, your ghdl exe is good to go! :)
4) Take it for a spin!
- cd “$HOMEPATH/My Documents/mega65”
- make simulate
- this churns away at quite a lot of *.vhdl files this time, no errors given
- then you will get a “cpu_test.exe” file
- Then give Paul's suggestion a try, of:
- ./cpu_test.exe 2>&1 | grep gs4510 | grep MAP
You should start seeing cpu instructions being outputted to the screen as they are executed.